
How To Package Diabetic Supplies For Shipping
- Updated May 10, 2026
- 8-minute read
- Reviewed by We Buy Diabetic Supplies Editorial Team
⚡ Quick Answer
To package diabetic supplies for shipping, place unopened boxes in a protective inner layer such as bubble wrap, put them in a sturdy shipping box, include your packing slip, and seal the package securely. Proper packaging helps protect the supplies from damage and supports a smoother inspection process after your shipment arrives.
Why Proper Packaging Matters When Selling Diabetic Supplies
Selling extra diabetic supplies has become increasingly common as many people receive surplus products after changes to their diabetes care or because they no longer need unused supplies. Online diabetic supply buyers provide a straightforward way to submit eligible unused supplies for evaluation.
However, one issue many sellers face is uncertainty about how to safely package diabetic supplies for shipping. Incorrect packaging can lead to damaged boxes, product eligibility issues during inspection or delays in processing.
When you package supplies correctly, you achieve three key outcomes:
- Your supplies arrive safely without damage
- The buyer can verify product condition quickly
- Your shipment supports a smoother inspection and evaluation process.
The following guide explains exactly how to package diabetic supplies for shipping, including preparation, packaging steps, and common mistakes to avoid.
What Supplies Do You Need To Package Diabetic Supplies For Shipping?
To package diabetic supplies for shipping, you typically need a sturdy shipping box, bubble wrap or protective padding, packing tape, and your packing slip. These materials protect the product packaging and help support a smoother inspection process when the shipment is received.
Before packing anything, gather the right materials. Using proper packaging supplies reduces the risk of damage during transit.
Essential Packaging Materials
| Packaging Material | Purpose |
| Shipping box | Protects supplies during transport |
| Bubble wrap or packing paper | Prevents box damage |
| Packing tape | Secures the shipping box |
| Packing slip | Identifies the shipment for payment |
| Plastic bag (optional) | Protects against moisture |
Recommended Box Size
Choose a box that:
- Fits the supplies without excessive empty space
- Allows room for protective padding
- Is strong enough for shipping
Using a box that is too large can cause items to shift and damage product packaging.
What Condition Must Diabetic Supplies Be In Before Shipping?
Diabetic supplies must typically be new, sealed, and in original manufacturer packaging to meet the buyer’s current product eligibility requirements. Boxes should not be opened, damaged, or expired. Most buyers also require products to have sufficient time before expiration based on their current product eligibility requirements.
Before you start packaging, inspect every item carefully.
Basic Product Eligibility Requirements
Most diabetic supply buyers accept products that meet the following conditions:
- Unopened manufacturer packaging
- Undamaged boxes
- Leave all labels intact unless instructed otherwise by the buyer
- Valid expiration date
- Authentic products
Commonly Accepted Supplies
Many buy-back companies accept products such as:
- Blood glucose test strips
- Continuous glucose monitor (CGM) sensors
- Lancets
- CGM transmitters
If you’re unsure whether a product qualifies, it’s best to confirm acceptance before shipping. Reviewing which diabetic supplies buyers commonly accept can help prevent rejected shipments and unnecessary shipping delays.
Step-By-Step: How To Package Diabetic Supplies For Shipping
To package diabetic supplies for shipping, organize the products, wrap them with protective padding, place them in a sturdy shipping box, include your packing slip, and seal the box securely with packing tape. Proper packing protects the product boxes and supports a smoother inspection process when the shipment is received.
Follow these steps to prepare your shipment correctly.
Step 1: Organize Your Supplies
Start by grouping all items you plan to ship.
Check each product for:
- Expiration dates
- Sealed packaging
- Undamaged boxes
If any boxes are crushed or opened, set them aside because they may not meet the buyer’s current product eligibility requirements.
Step 2: Protect Individual Boxes
Wrap each product box lightly using:
- Bubble wrap
- Packing paper
This step prevents the manufacturer packaging from being crushed during transit.
Tip: Avoid excessive tape directly on the product boxes.
Step 3: Prepare the Shipping Box
Place padding on the bottom of your shipping box.
Recommended padding materials:
- Bubble wrap
- Packing peanuts
- Paper padding
This base layer acts as shock absorption during transport.
Step 4: Place Supplies in the Box
Arrange the wrapped supplies neatly inside the box.
Important packing tips:
- Do not overcrowd the box
- Leave space for padding between items
- Keep boxes upright if possible
This reduces pressure on the product packaging.
Step 5: Add the Packing Slip
Most buyers require a packing slip or seller form to identify your shipment.
Place the slip:
- On top of the items inside the box
- Inside a plastic sleeve if available
Without this document, processing of your shipment may be delayed.
Step 6: Fill Empty Spaces
Use additional padding to fill any gaps in the box.
This prevents supplies from shifting during shipping.
Common filler materials include:
- Packing paper
- Air cushions
- Bubble wrap
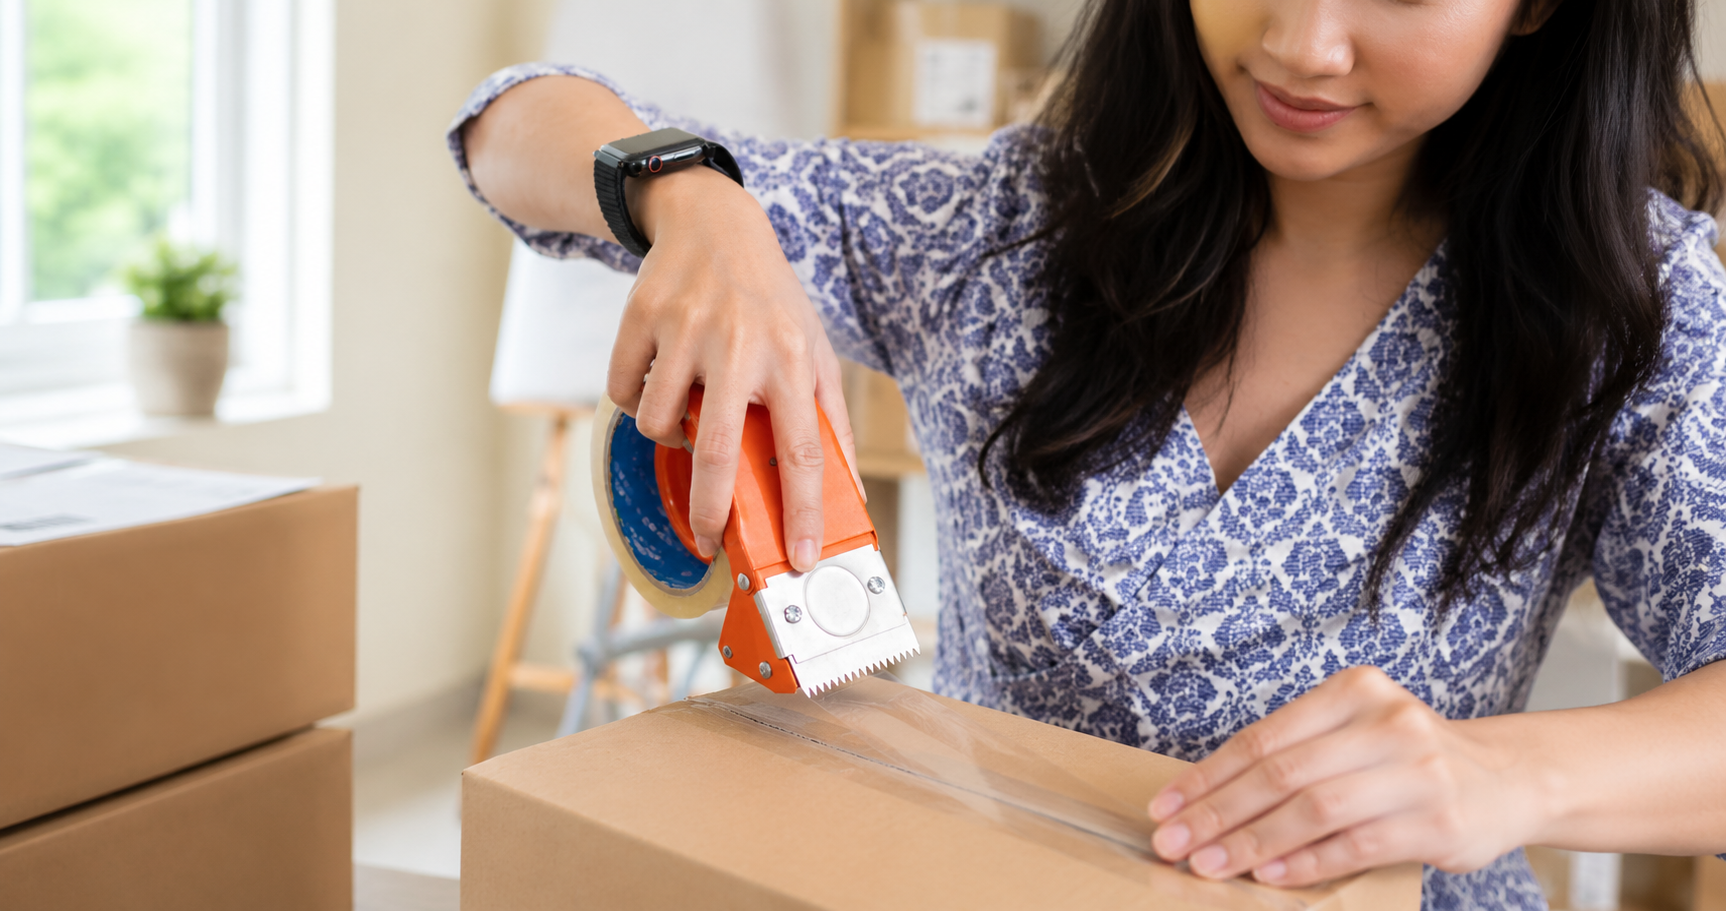
Step 7: Seal the Box Securely
Close the box and seal all edges using strong packing tape.
Use the H-taping method:
- Tape across the center seam
- Tape along both edges
- Reinforce corners if needed
This ensures the package stays closed during transit.
Example Packaging Setup
A properly packaged shipment usually looks like this:
- Supplies wrapped individually
- Items arranged neatly inside the box
- Padding on all sides
- Packing slip included
- Box sealed tightly with tape
This setup helps protect the products during shipping and supports a smoother inspection process.
What Shipping Mistakes Should Sellers Avoid?
Common packaging mistakes include shipping damaged boxes, failing to include a packing slip, using weak packaging materials, or allowing items to move freely inside the box. These issues may affect product eligibility during inspection or delay the evaluation process.
Avoid these common errors:
1. Shipping Opened Boxes
Buyers typically require factory-sealed products.
Opened boxes may be rejected.
2. Using Envelopes Instead of Boxes
Padded envelopes often crush product packaging.
Always use rigid shipping boxes.
3. Skipping Protective Padding
Without padding, product boxes may arrive damaged.
This may affect product eligibility during inspection or delay processing.
4. Forgetting Documentation
If the shipment lacks a packing slip, the buyer may not know who sent the package.
Always include identification information.
How Long Does Shipping and Payment Usually Take?
Once diabetic supplies are packaged and shipped, most buyers inspect the shipment after delivery and issue payment within 2 business days after inspection for products that meet the buyer’s current product eligibility requirements. Processing times can vary depending on the buyer and shipping method used.
Typical process timeline:
| Step | What Happens |
| Shipment sent | Seller ships packaged supplies |
| Package delivered | Buyer receives shipment |
| Inspection | Products checked for condition |
| Payment issued | Payment issued within 2 business days after inspection for products meeting current product eligibility requirements |
Faster shipping and proper packaging can help speed up the process.
Pro Tips For Shipping Diabetic Supplies Safely
Expert Insight
Sellers who ship supplies frequently follow these simple tips:
- Use double boxing for large shipments
- Ship supplies before extreme heat exposure
- Avoid writing directly on manufacturer boxes
- Keep tracking information for your records
These small steps help ensure a smoother transaction.
Frequently Asked Questions
Can You Ship Diabetic Supplies?
Yes. Many buyers accept shipments of unused diabetic supplies that are factory-sealed and meet their product eligibility requirements. Before shipping your products, review the buyer’s purchasing guidelines to confirm which items are accepted.
Do diabetic supply buyers accept expired products?
Some sellers also check whether buyers accept expired diabetic supplies before preparing older inventory for shipment.
What diabetic supplies are commonly accepted?
Many buyers accept:
- Blood glucose test strips
- CGM sensors
- Lancets
- CGM transmitters
Acceptance may vary depending on brand and expiration date.
Do I need special packaging for medical supplies?
No specialized medical packaging is usually required. A sturdy box, protective padding, and proper documentation are typically sufficient for shipping diabetic supplies safely.
What happens if the boxes arrive damaged?
Ready to Ship Your Diabetic Supplies?
If you have unused diabetic supplies sitting at home, packaging them correctly is the first step toward preparing them for submission.
By following the steps in this guide, you can:
- Protect your supplies during shipping
- Help support a smoother inspection process
- Help support a smoother inspection and evaluation process
Once your supplies are packaged, the next step is simple: send them to a trusted buyer who specializes in purchasing diabetic supplies.
Visit We Buy Diabetic Supplies to learn how the selling process works and how to safely ship your unused diabetic supplies. With proper packaging and preparation, you can help support a smoother inspection process and shipment evaluation.